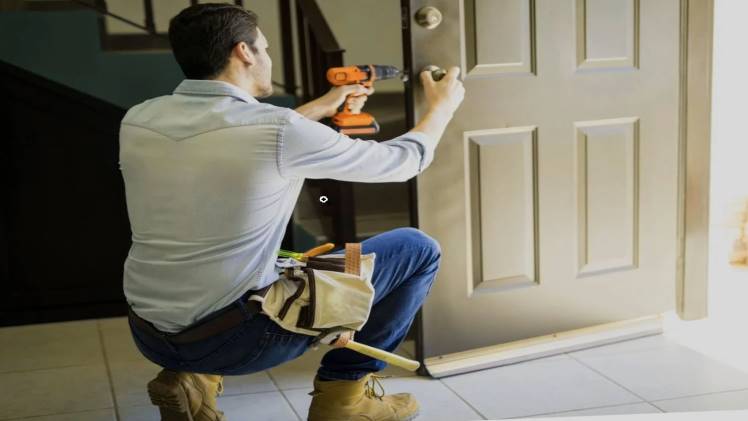
Installing doors may seem like a challenging task, but with the right information and approach, it can be done without much difficulty. We’ll go over the basic steps and provide helpful tips for successfully installing doors in your home.
Looking to buy interior doors made in California using modern technologies and with unique design? Visit the online store https://indigodoors.com/california/ for a wide selection and high quality.
Preparation
- Before starting the installation of an interior door, proper preparation is necessary. After all, good preparation is half the battle. Here are several key steps to help you prepare for door installation:
- Determine the placement of the door. First and foremost, you need to decide where exactly the door will be installed. Assess the doorway and choose the best location for installation. Typically, this is where the door will be most functional and aesthetically pleasing.
- Check the dimensions of the door frame. Before purchasing the door, make sure you know the exact dimensions of the doorway where the door will be installed. This will help avoid unnecessary problems and inconvenience during the installation process.
- Acquire necessary tools and materials. Ensure you have all the required equipment for door installation. This may include screwdrivers, drills, a level, hammer, foam board, as well as fasteners and the door itself. Purchase additional materials if necessary.
- Prepare the workspace. Before beginning the installation, make sure the workspace is clean and prepared for work. This will ensure comfortable and safe completion of all installation stages.
Assembly of the door unit
- After the preparatory measures, it’s time to start assembling the door unit. This stage is one of the key aspects in the process of installing an interior door. It’s important to follow the instructions and be attentive at each step.
- Assemble the door frame. Unpack the door and inspect all the components. Follow the instructions provided with the door and assemble the frame according to the manufacturer’s specifications. Carefully ensure that all parts are correctly connected and secured.
- Install hinges on the door (if necessary). If the door doesn’t come with pre-installed hinges, attach them according to the manufacturer’s instructions. Make sure the hinges are installed evenly and securely to avoid problems with opening and closing the door in the future.
- Make necessary holes for locks and handles. Using a drill and appropriate drill bits, drill holes for installing the lock and handle on the door. Ensure that the holes are symmetrically and accurately placed according to the preliminary markings.
- Check the completeness. Before moving on to the next stage, ensure that all components of the door unit are installed correctly and free from damage. This will help avoid issues in later stages of installation.
Installation of the door unit
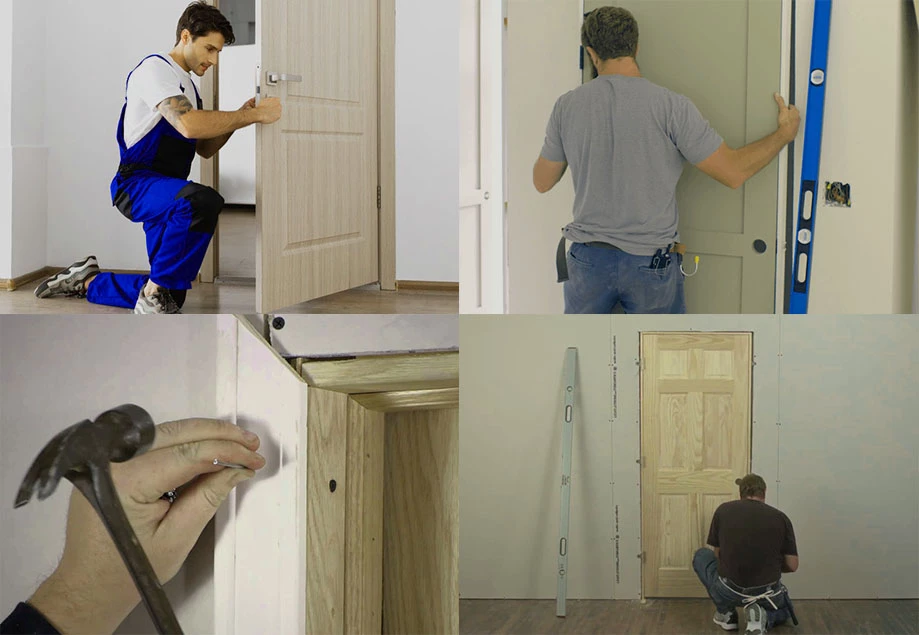
Now that the door unit is assembled, it’s time to proceed with its installation. This stage requires attentiveness and precision to ensure the door opens and closes smoothly and is properly aligned within the doorway.
Here’s how to execute this stage:
- Lift the door into place and temporarily secure it. With the help of an assistant or support (such as wooden shims), lift the door and position it into the doorway so that it is evenly distributed. Temporarily secure it to prevent it from shifting during the following steps.
- Check the alignment using a level. Ensure the door is installed evenly and vertically using a level. Adjust the position of the door if necessary to achieve perfect alignment.
- Secure the door within the doorway. Using fasteners (typically included in the door’s supply kit), begin securing the door unit within the doorway. It’s important to follow the manufacturer’s instructions and place the fasteners evenly around the perimeter of the door.
- Test the opening and closing of the door. Once the door is secured, check if it opens and closes freely. Pay attention to any difficulties or sticking points. Adjust the door’s position if necessary.
- Check the level and alignment of the door. Once again, use the level to ensure the door is still vertically aligned and properly leveled. Make adjustments as needed.
Adjustment and testing
After installing the door unit, it’s essential to carry out a series of adjustments and checks to ensure the door operates correctly.
Here’s what needs to be done:
- Test the opening and closing of the door. Once again, ensure that the door opens and closes smoothly without sticking or friction. Test this several times to ensure its reliable operation.
- Adjust hinges and locks if necessary. If the door still sticks or doesn’t close properly, adjustments to the hinges or locks may be necessary. Use a screwdriver or adjustment screws on the hinges and locks to correct the door’s position.
- Check the level and alignment of the door. Once again, use a level to ensure the door remains vertical and properly aligned. Make additional adjustments if necessary.
- Test the operation of locks and handles. Ensure that locks and handles operate correctly and reliably. They should open and close easily without sticking or difficulty.
- Finalize the adjustments. After all adjustments are made, retest the door’s operation to ensure it functions as intended. If everything is in order, proceed to the next step – installing the hardware.
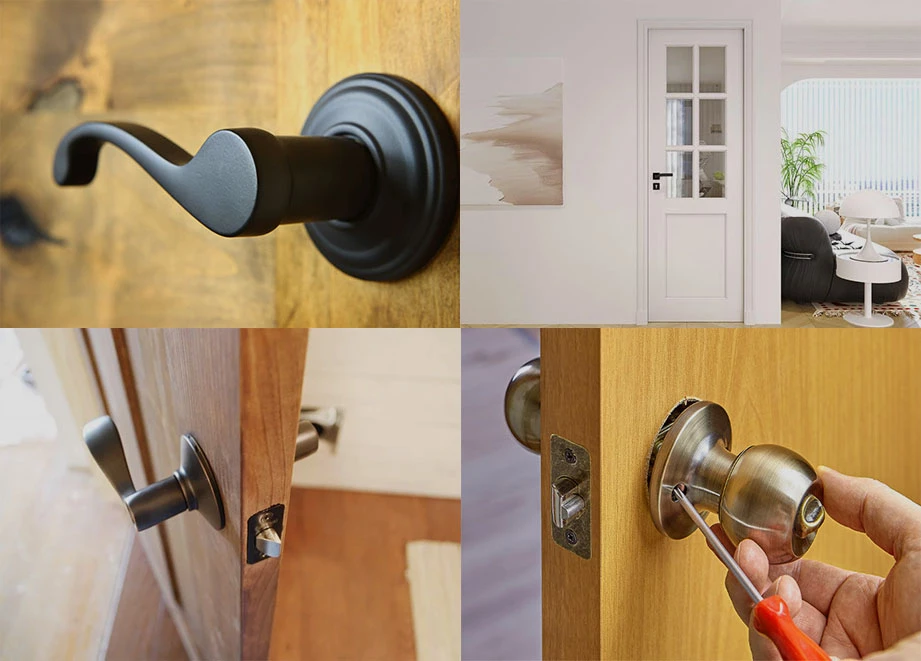
Installation of hardware
Once the door unit is installed and verified, it’s time to install the hardware – handles, locks, and other components.
Here’s how to correctly install the hardware on your interior door:
- Install handles and locks. According to the manufacturer’s instructions, install handles and locks on the door. This typically involves securing interior and exterior handles and installing the lock into the corresponding holes. Ensure all components are properly aligned and securely fastened.
- Test their functionality. After installing handles and locks, test their functionality. Ensure handles turn smoothly without sticking, and locks open and close correctly. Make additional adjustments if necessary.
- Install door hinges (if necessary). If the door doesn’t come with pre-installed hinges, install them according to the manufacturer’s instructions. Remember that hinges should be installed so that the door opens in the desired direction and closes easily.
- Check interaction with the door frame. After installing the hardware, check that the door closes properly and snugly fits against the door frame. Adjust hinges or locks if necessary to ensure proper interaction between the door and the frame.
- Finalize the installation. Once the hardware is installed and everything is checked, ensure all fasteners are securely tightened. Close the door and double-check that it opens and closes correctly. If everything is in order, your interior door is ready for use!
Conclusion
Installing an interior door yourself may seem like a daunting task, but by following our detailed guide and exercising diligence at every step, you can successfully complete this project
If you encounter difficulties, don’t hesitate to seek help from professionals, but tackling this task on your own is entirely feasible. Good luck with your interior door installation project!